Showing posts with label Mayflower Mystery Quilt #1. Show all posts

Wednesday, 5 May 2021

Mayflower Mystery Quilt #1 Top Completed

I sewed all the blocks together several weeks ago and found time this week to cut out the inner and outer borders and get them attached to the quilt.  I actually cut my borders narrower than in the instructions as I wanted the finished quilt to be within the size range required to donate to Quilts of Valour Canada.  Here it is with the inner border added.


And here it is with the outer border added.


The pictures don't show the fabric used in the inner border very well, so here's a close up.  I'm also going to use this same fabric for the binding.


Now to get it quilted and donated.  I plan to quilt it with yellow/gold thread.

Wednesday, 7 April 2021

Two BOM's and one BOW

On Monday I got to work on two Block of the Months and one Block of the Week.  First up I worked on the Sewcialites block of the week from the previous Friday.  This week's block was called Virtue and is the 25th of 36.


Here are my blocks 19-25.


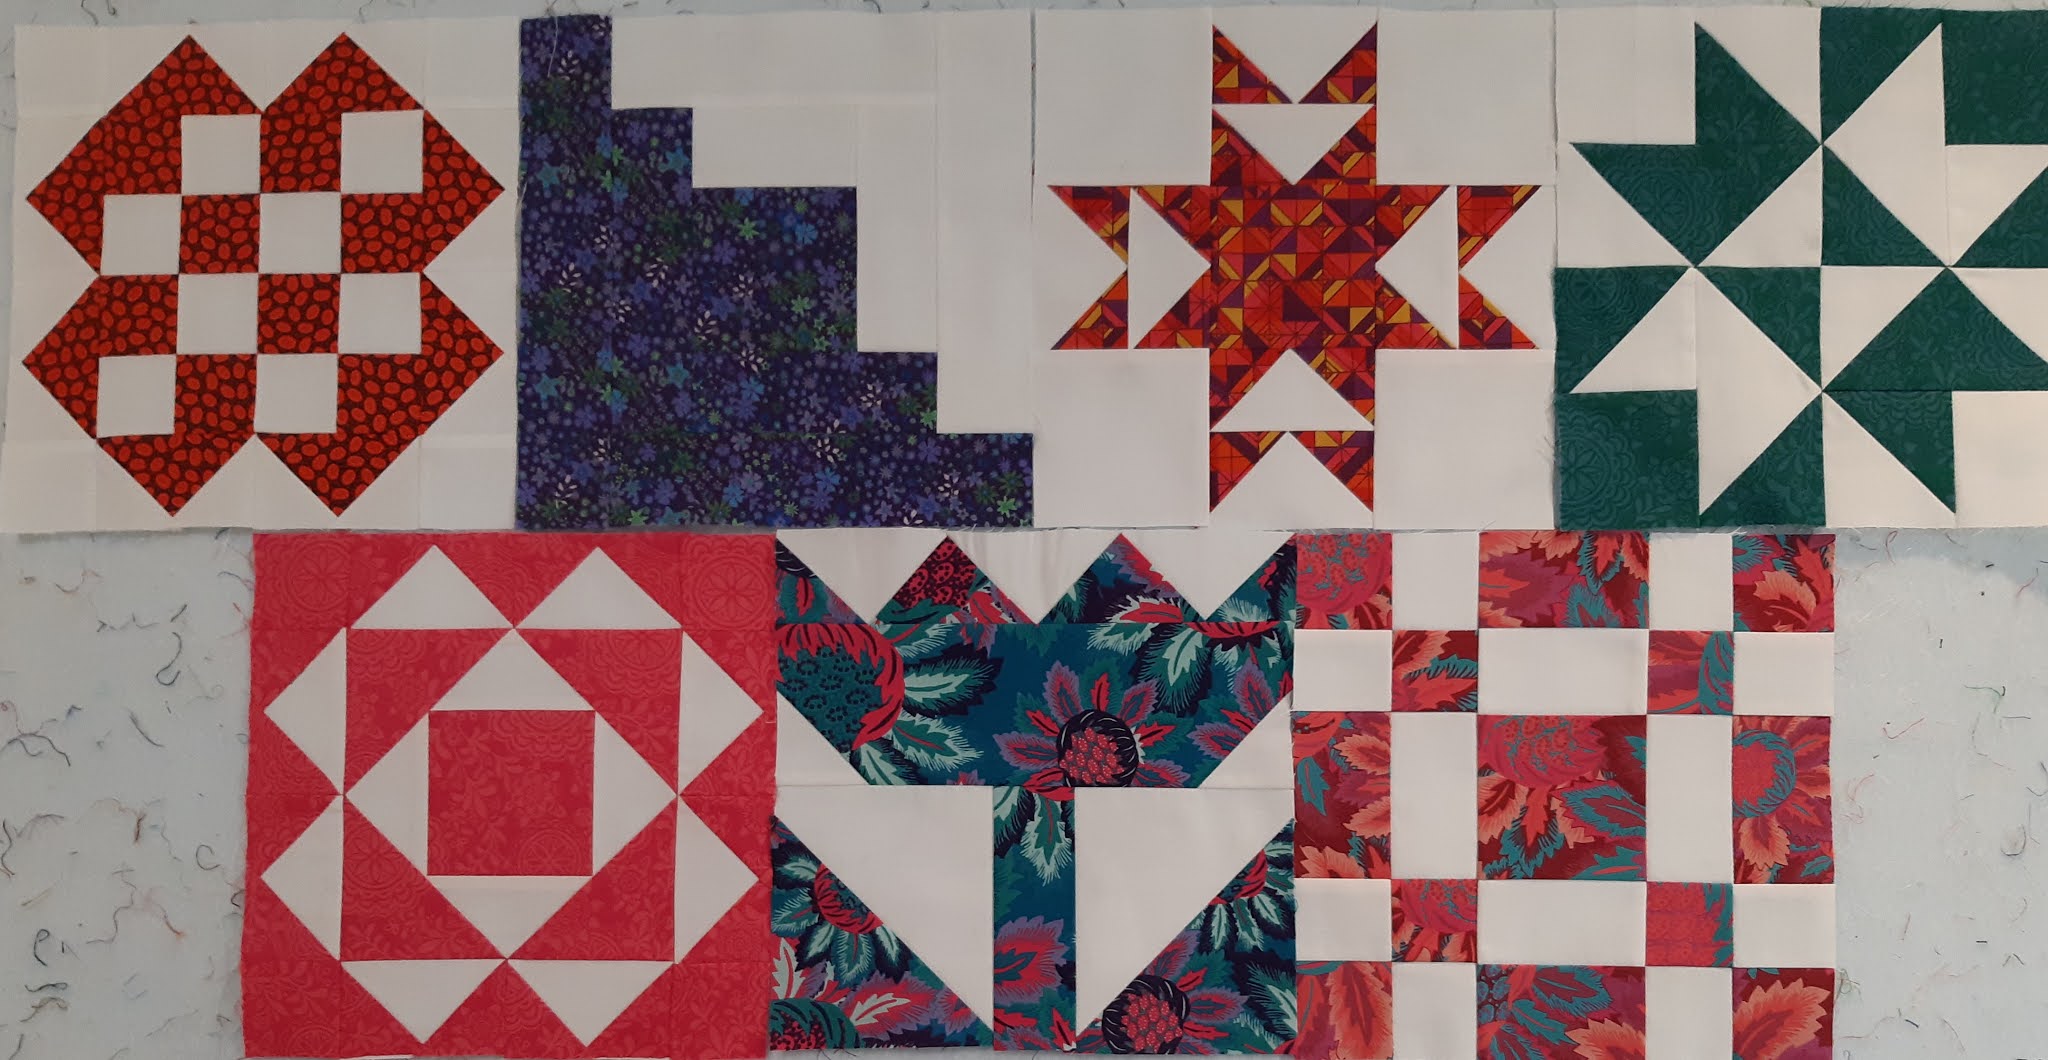
Next I worked on the Scott Flanagan Block of the Month our guild is running.  This is block 4 called Tulip Blossoms.


Here are my four blocks so far.


While I was working on the above blocks, I sewed together block halves made in Part 2 of the Mayflower Mystery Quilt #1 to make the final blocks for the centre of this quilt.  Here's a picture of what 16 blocks will look like together.  None of these blocks halves are sewn together yet, I just put them up on my design wall so I could see what the quilt is going to end up looking like.


I'll continue putting these blocks together as I sew other things.

Sunday, 14 March 2021

Two Drawstring Bags and Progress on the Mayflower Mystery Quilt #1

Earlier in the week I sewed together a drawstring bag to gift the last Snowflake quilt.  I made the drawstring ties and lining with a red polka dot fabric.


On Saturday I sewed together another drawstring bag to gift the baby quilt for my niece.


 The quilt is now all quilted and bound and just requires a bit of embellishment on the bees.  I won't show it on the blog until after she receives it.  Here's a taste of what the quilting looks like on the fleece back though right after I quilted it.  I chose this pantograph because some of the fabrics have little hearts in them and the loopy pattern reminds me of the loopy path the bees have flown.  The scribbly bit of quilting on the upper left is where I was testing the thread tension before starting.  I don't know why the colours of these fabrics don't photograph well.  They are much darker and richer in person.


And after all the odds and ends of sewing done this past week, I finally sewed all the units together for the Mayflower Mystery Quilt #1.  Here are all 840, I mean 84 blocks.


Next week I want to get the snowflake quilt quilted and finish the Bee quilt for my niece and get both in the mail.

Thursday, 4 March 2021

Progress on Two Mystery Quilts and the Fifth Snowflake Quilt

The third clue for the Mayflower Quilt Guild Scott Flanagan BOM came out.  Here's my Wheel of Chance block.

And here are the three blocks so far.

I skipped block two, but made all the rest of the Jelly Snowflake blocks.  I altered block three leaving off the snowballed corners and made the central block like a plus same as the fourth snowflake quilt I made.

I replaced the star blocks with a simple four patch and filled in with the background fabric.

While I was sewing the above projects, I was also sewing units together for the last Steps of Part 2 of the Mayflower Mystery Quilt #1.

Just 83 seams to go!

Sunday, 28 February 2021

Sewcialites Block 20, Jelly Snowflake #5 and Mayflower Mystery Quilt # 1, Part 2 Step 3

 Last Friday, 19 February, the Sewcialites Block didn't get published as planned due to the weather and electrical problems being experienced in Texas so it came out this Friday instead and the quilt along will run a week longer.  Hopefully everyone who was affected is now getting back to normal.  Here's my block 20, Honor, or as spelled in Canada, Honour.

Here are blocks 19 and 20 together and blocks 1 to 18 together.


I also started working on another flannel Jelly Snowflake quilt, the fifth and final one.  Here are my four corner blocks.


While I was sewing the Sewcialites block and the Jelly Snowflakes blocks, I worked on putting two units of the Mayflower Mystery Quilt together and now I'm ready to sew two sets of units together.  One done, 83 to go.

Moving three separate projects forward in one day feels great!

Saturday, 27 February 2021

Mayflower Mystery Quilt #1 Part 2

While I was sewing the blocks together to make the Bee-utiful Baby Quilt, I also started to sew together the units made in Part 1 following the instructions in Step 1 of Part 2.  I put the pieces in a little basket beside my machine and every time I sewed a seam on the baby quilt, I would sew a couple of the Mystery Quilt parts together.

By the time I had the baby quilt in one piece, I also had all 84 units of the mystery quilt sewn together and pressed open.  I also organized the units for Part 2 Step 2 the same way so I can easily continue on this project the next time I'm in the sewing room.


Two projects moving forward is twice the fun!

Wednesday, 24 February 2021

Mayflower Mystery Quilt Along #1, Part 1 Completed Using A New-To-Me Masking Tape Ledge Trimming Technique

The Clue for Part 2 came out today which reminded me to blog about completing Part 1 which I did several days ago.  There were a bazillion hst's which were sewn oversize so needed to be trimmed down.  I had trimmed a few just using a plain ruler and it was slow going.


At just the right time, Jane M. forwarded me an e-mail from Denise O. of our quilt guild requesting that I highlight Canadian quilter Karen Brown in our next guild newsletter if I had not highlighted her before.  I had not so immediately went to check her out and found tons of video tutorials which I have been binge watching ever since.  You can find out everything about her at Just Get It Done Quilts.  I have probably watched a dozen of her videos now and have learned something from each one.  This is were I learned about Masking Tape Ledges for trimming hst's in hack number two of Karen Brown's 5 Sewing Hacks with Masking Tape video.  Please go watch it, I'll wait....

Here I have a masking tape ledge made up of 4 strips on the back of my ruler butted up against my pressed to the dark side seam and the excess dark edges trimmed off.


I chose to use a ruler which had diagonal lines on it so it made the masking tape placement very easy.  However, since my ruler wasn't square I couldn't slide the ruler as described by Karen to trim the light side of my hst's but I figured out a work-around.  I trimmed all the dark sides and then moved the masking tape ledge to the other side of the line and then trimmed all the light sides of the hst's.


It was so quick and accurate I trimmed all 168 blocks at once.  Another bonus with the masking tape is that the texture of the tape grips your fabric so your ruler slides less which means you don't have to press on the ruler as hard to keep in it position.  So here are all my trimmed hst's and my four-patches from Part 1.


I have Part 2 printed so I can start working on it and you can bet I will be using the masking tape ledge trick again.  Thanks to Denise O. for bringing Karen Brown to my attention and thanks Karen for everything I'm going to learn from you to improve my sewing.  I have already subscribed to Karen's YouTube videos and signed up for her Newsletter and added her to My Blogs I Love to Read List.

Wednesday, 17 February 2021

Mayflower Mystery Quilt #1

The second half of Part 1 of the Mayflower Mystery Quilt #1 was to make hst's.  They were oversized and then you trimmed them down to 3".


 I haven't finished making all of them yet but they are all cut and ready beside my machine so I can work on them as I'm sewing other things.

Tuesday, 9 February 2021

Mayflower Mystery Quilt Along #1

The Mayflower Quilters Guild which I belong to is doing two Mystery Quilt Alongs.  I was able to find enough fabric in my stash to do the first quilt along.  Here's the fabric I'm going to use.


I bought fabric A+B just because I really liked it so I am pleased to find a project for it.
Fabrics C, D & F were all bought at the same time to coordinate with another fabric which I am using for a Kaleidoscope quilt.  I couldn't have picked them to match fabric A+B any better than they do!  I will still have enough left over for my Kaleidoscope quilt.
I bought fabric E because I love gold and red fabrics and checkerboards.
I bought fabric G on sale expecting it to be used as a backing but think it will work well here as the background.

Here are the four patches I made as the first half of Part 1 of  the mystery instructions.


I have spun the seams on the back as instructed.  The little four patch at the centre is just so cute!