I have been thinking for awhile now that I should make blog posts on all the quilts I've made, prior to starting my blog, that I still have or have a picture of so my blog will contain as many as possible of my projects in one spot.
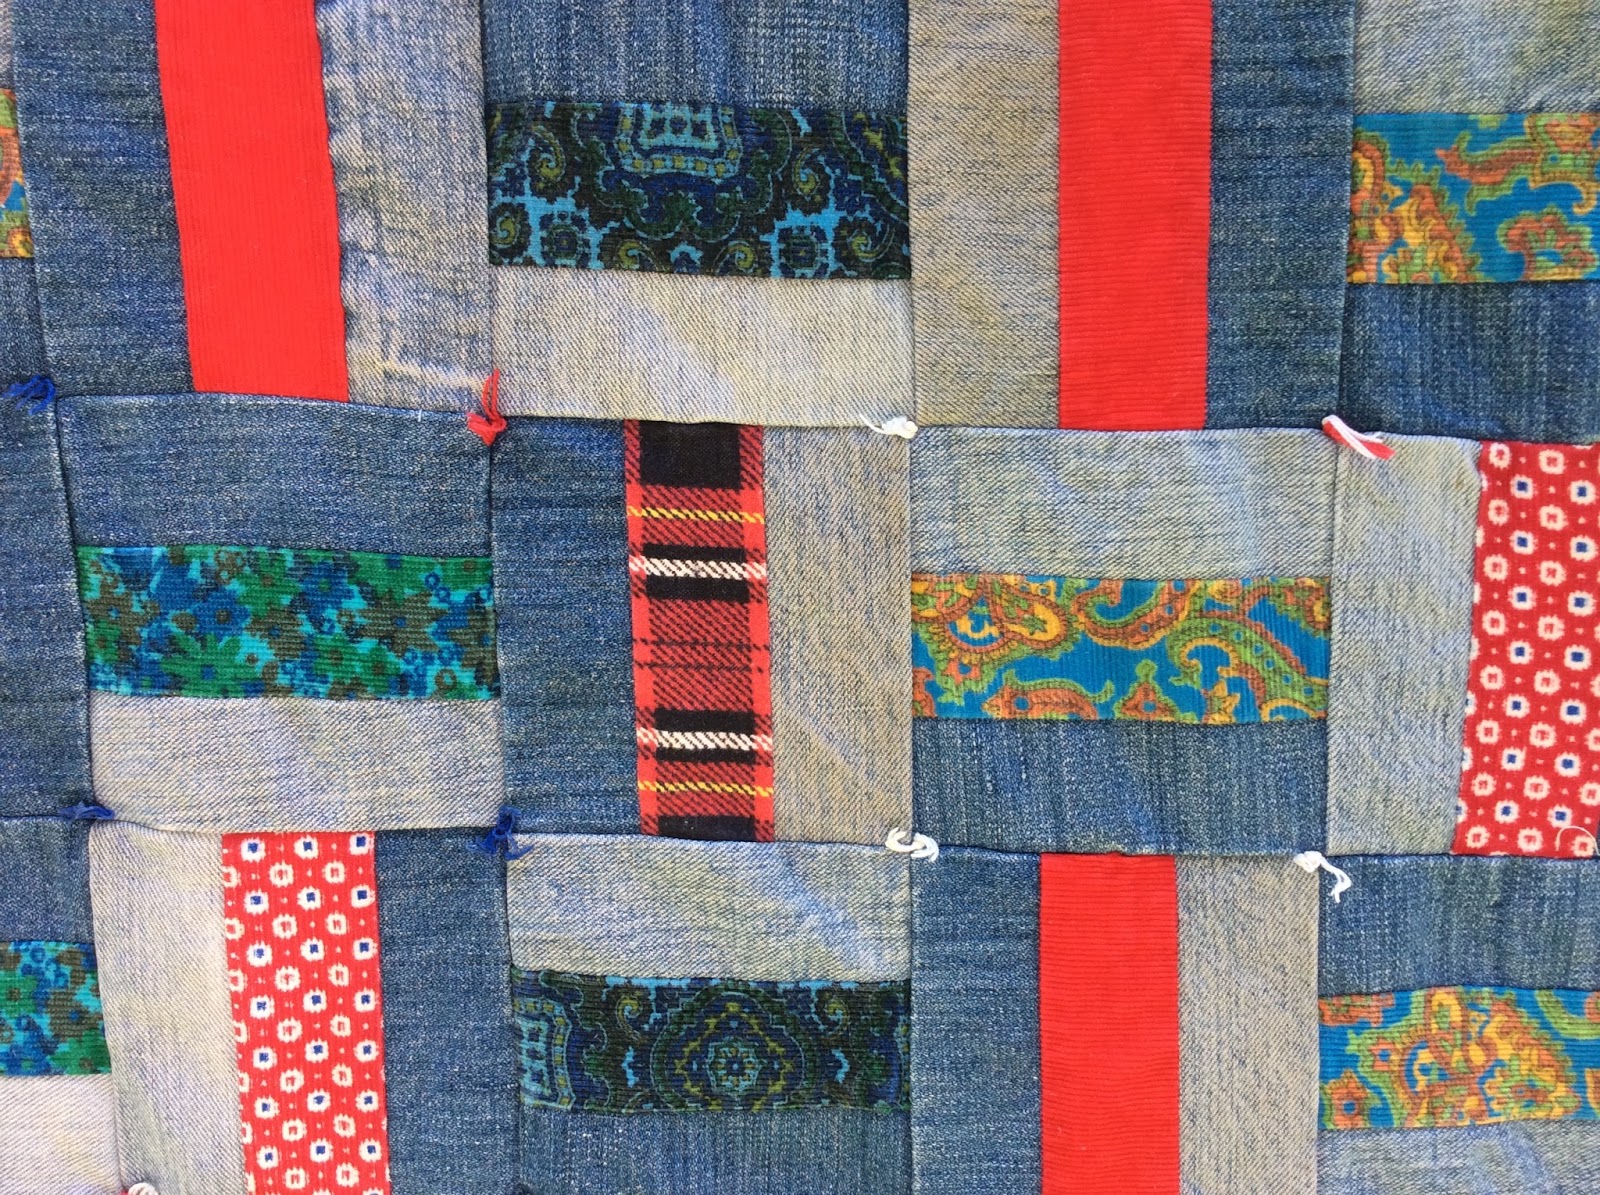
The first quilt I ever made was when I was 13 years old. It is a Rail Fence quilt and was made with worn out or outgrown denim jeans as well as red and blue/green scraps from my mother's scrap bin. I remember using a cardboard template, tracing it and then cutting out rectangles of fabric with scissors. Most of the red and blue fabrics are corduroy, but some of the reds are also flannel. Some fabrics were new and left over from my mother making clothing and some were from clothing that had been worn and grown out of and the good pieces cut up to use again. The red plaid flannel in the center of the picture below was from a shirt I had grown out of.

Since it was a scrap quilt, it seemed reasonable to me at the time to use up all the odds and ends of spools of thread my mother had in the bottom drawer of her sewing cabinet; no matter the colour or weight of the thread or whether it was cotton or polyester or whatever; so it is also a scrap thread quilt. My mother didn't realize I was doing this until she went to mend something and was a little dismayed to find that all the partial spools of thread in every imaginable colour she had accumulated over years of sewing were now gone and she would have to buy new thread to match in order to mend or make anything for the next while to build up her thread stash again! I sewed this on my mother's green Necchi, which did not have a foot pedal, but had a knee operated lever instead. Here is a picture from pinterest of a similar machine but not in very good condition.

The backing is an old sheet and since it was exactly the right size without trimming any edges off or unpicking the top or bottom hem of the sheet, that was exactly how I used it! (I refuse to show a picture of the backing.) It has a very thin polyester batting inside it. I tied the quilt at the corner of each block with variegated red, white and blue crochet cotton.
I had this quilt on my twin sized bed for quite awhile. The dark blue central section laid on the top of the bed and the lighter sections hung over the sides of the bed. It has been used outside as a picnic / tanning / beach blanket and has been used by both my children who are now both grown ups, as well as by five cats and two dogs over the years during its life on the couch in our rec room. It is a very heavy quilt, especially wet, as you can see below from all the clothespins I had to use to hang it on the line to dry. I promise not to talk this much about each quilt I show, but if you are still with me, here finally is a picture of my first quilt.
There are a few raveled seams that I will mend before it goes back into use again in the rec room which is now my sewing room. (Some of the thread was old when I sewed it 43 years ago.)
Confession Time: Even though I pieced and tied this quilt when I was 13, it waited 30 years to have red and blue/green plaid binding sewn on it, but that didn't stop it being used in the meantime!