This brings my total of central blocks sewn to 85 with 84 still to go, so just over the half way point of the square blocks. Yeah! After that there are still 56 triangular border blocks to make which will be a bit more complicated, so I am figuring I am one-third done time wise now. Still Yeah!
D3 I appliqued this block.
E3 I pieced this block.
E11 This was a time consuming block. First you had to make 8 black ovals which were appliqued to a circle. Then you had to make a reverse applique circular hole in a square and applique this on top of the circle and then you had to applique four quarter circles in the corners. A lot of work for a tiny block. I like how it turned out though!
F3 I pieced this block, it was fairly simple.
F11 This was another complicated block combining applique and paper piecing. First you had to applique the quarter blue circles to black squares and then create the block with paper piecing and then applique the black quarter squares on top. I used
Susan Gatewood's paper piecing templates. My applique is still not the greatest, but from a reasonable distance, they are OK.
G3 This was also appliqued.
G11 I paper pieced the diamond rectangles using
Susan Gatewood's paper piecing patterns
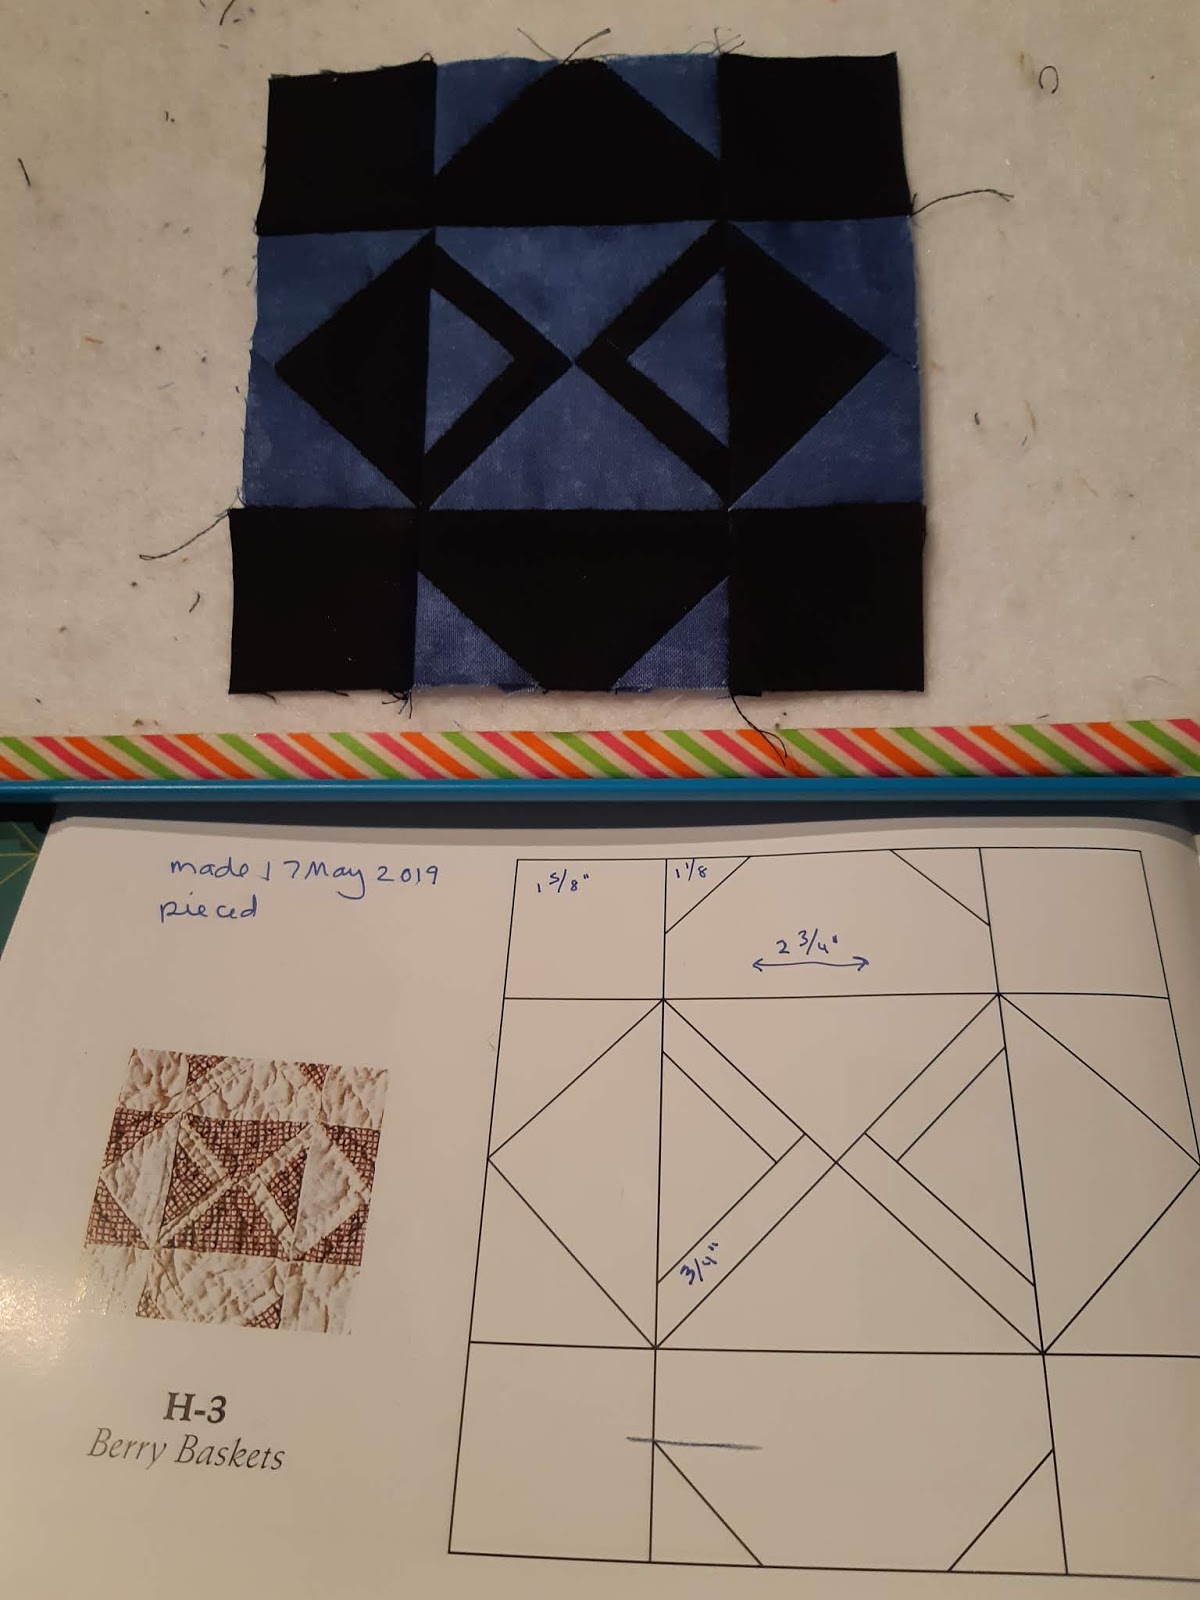
H3 I pieced this block and like it very much. It has been named "Berry Baskets".
H11 I also paper pieced this using
Susan Gatewood's patterns and required "Y" seams.
I3 I strip pieced this one, very simple.
I11 Once again, I paper pieced this using
Susan Gatewood's paper piecing patterns.
J3 I pieced this using my "Drunkard's Path" templates for the curved quarter circles. The black rectangle arrow shapes could line up a bit better but from a distance I am fine with how this block turned out.
J11 It took me awhile to figure out how to make this block using a "Cathedral Window" technique. In the end I made six individual orange peel blocks using a coloured square and layering two black squares folded into triangles on top and then rolling back the triangle edges. For the central block to have the criss-cross, I cut one completed orange peel block in half diagonally cross ways and placed it on top of another incomplete orange peel block and then rolled the edges back on it. Because of the method I used to make this block, I do have two black lines on my central block that are not on the original Dear Jane block, but I'm fine with that. I was able to make the block using "Cathedral Window" techniques and no applique.
K8 I paper pieced this block, not because it was difficult, but just to make it more accurate, again using
Susan Gatewood's paper piecing patterns.
K9 I pieced this block.
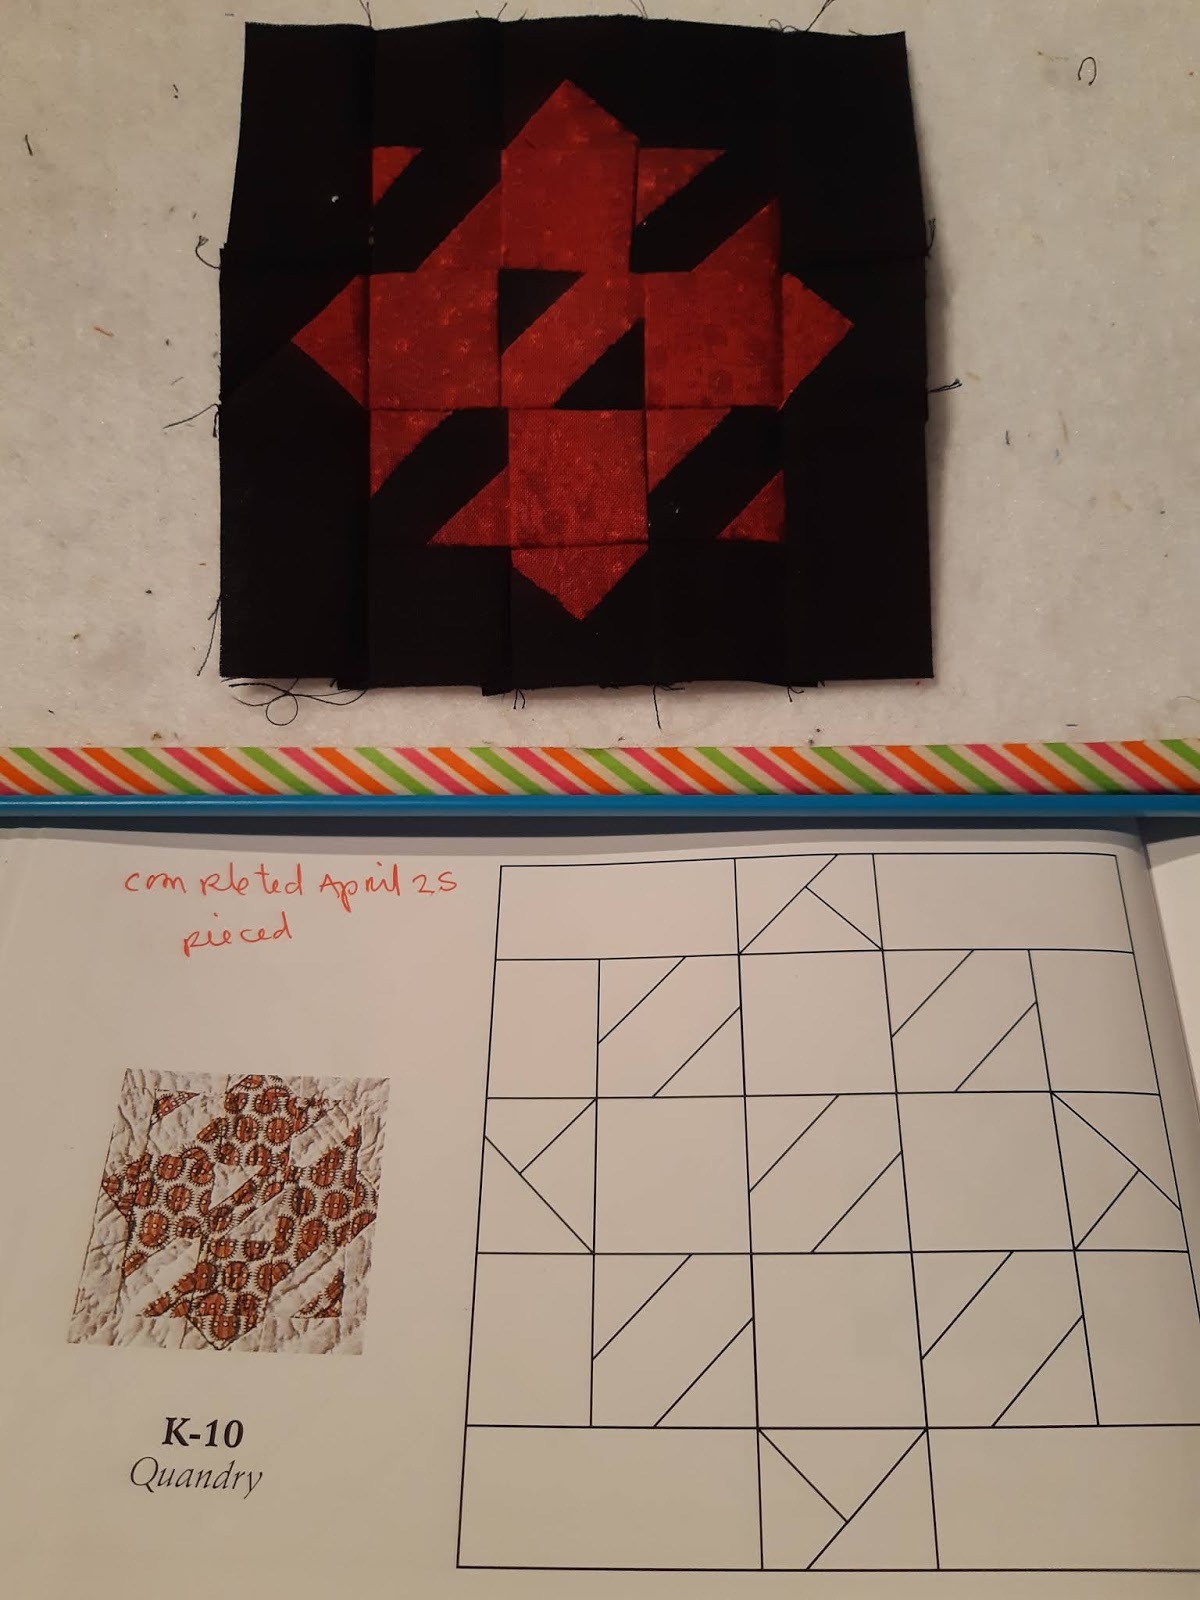
K10 I pieced this block.
K11 I pieced the centre of this block, but I paper pieced the outer black rectangles with the coloured triangles again using
Susan Gatewood's paper piecing patterns.
B3 I used my "Drunkard's Path" templates for this block.
B4 I pieced this block.
B10 I pieced this block. My plus sign is little wonky, but not too badly.
B11 I pieced this block with orange corners and then added black squares folded into triangles to the corners and rolled them back like "Cathedral Windows" to create the curves.
I am still having so much fun making these blocks. I was Dear Jane binging over the Victoria Day long weekend since it wasn't nice enough most of the time to be outside. I started working on these blocks in January of 2018, 17 months ago and now have 85 blocks which means I have averaged 5 blocks a month. I hope to pick up the pace a bit so it doesn't take me 17 more months to finish the square blocks and still have all the triangle blocks to make. Maybe I can complete 5 blocks a month plus at least 1 or maybe even 2 triangles a month going forward. May isn't over yet and our Dear Jane group hasn't even met yet so I can certainly get a few more done this month! Once I sew 81 of the 85 blocks into a 9 x 9 grid, I will post a picture.